Collaboration Project: Designing a 3D Environment in the Avatar Pandora Style
This project was carried out in close collaboration with Quentin DIAZ and Matéo MARIE.
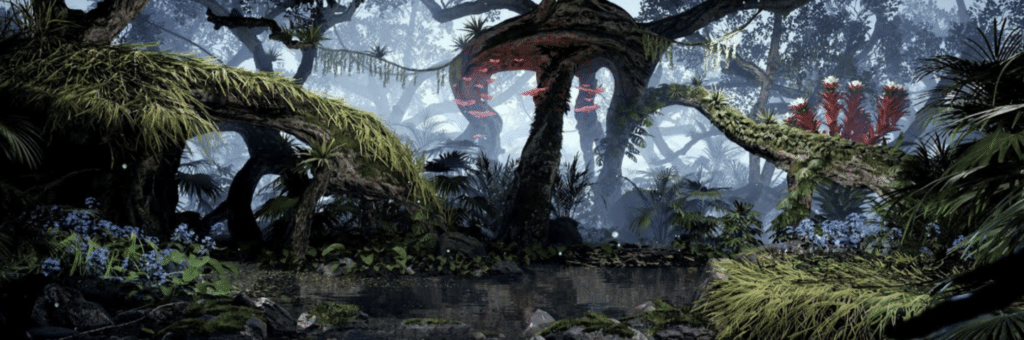
Our goal was to design and bring to life a realistic 3D environment, inspired by the style of Pandora from Avatar.
This setting was intended for a life-sized 1:1 scale print, with dimensions of 10 meters in length and 4 meters in height, to be displayed on a wall. Additionally, we also worked on an animation for a screen presentation.
Preparation and Design: Building the 3D Environment in Alignment with the Theme
Before embarking on this project, we initiated an extensive research phase to explore design concepts, atmospheres, settings, and environments. Our primary objective was to ensure a perfect alignment with the imposed theme. This process began with graphic research and evolved into modeling and prototype design.
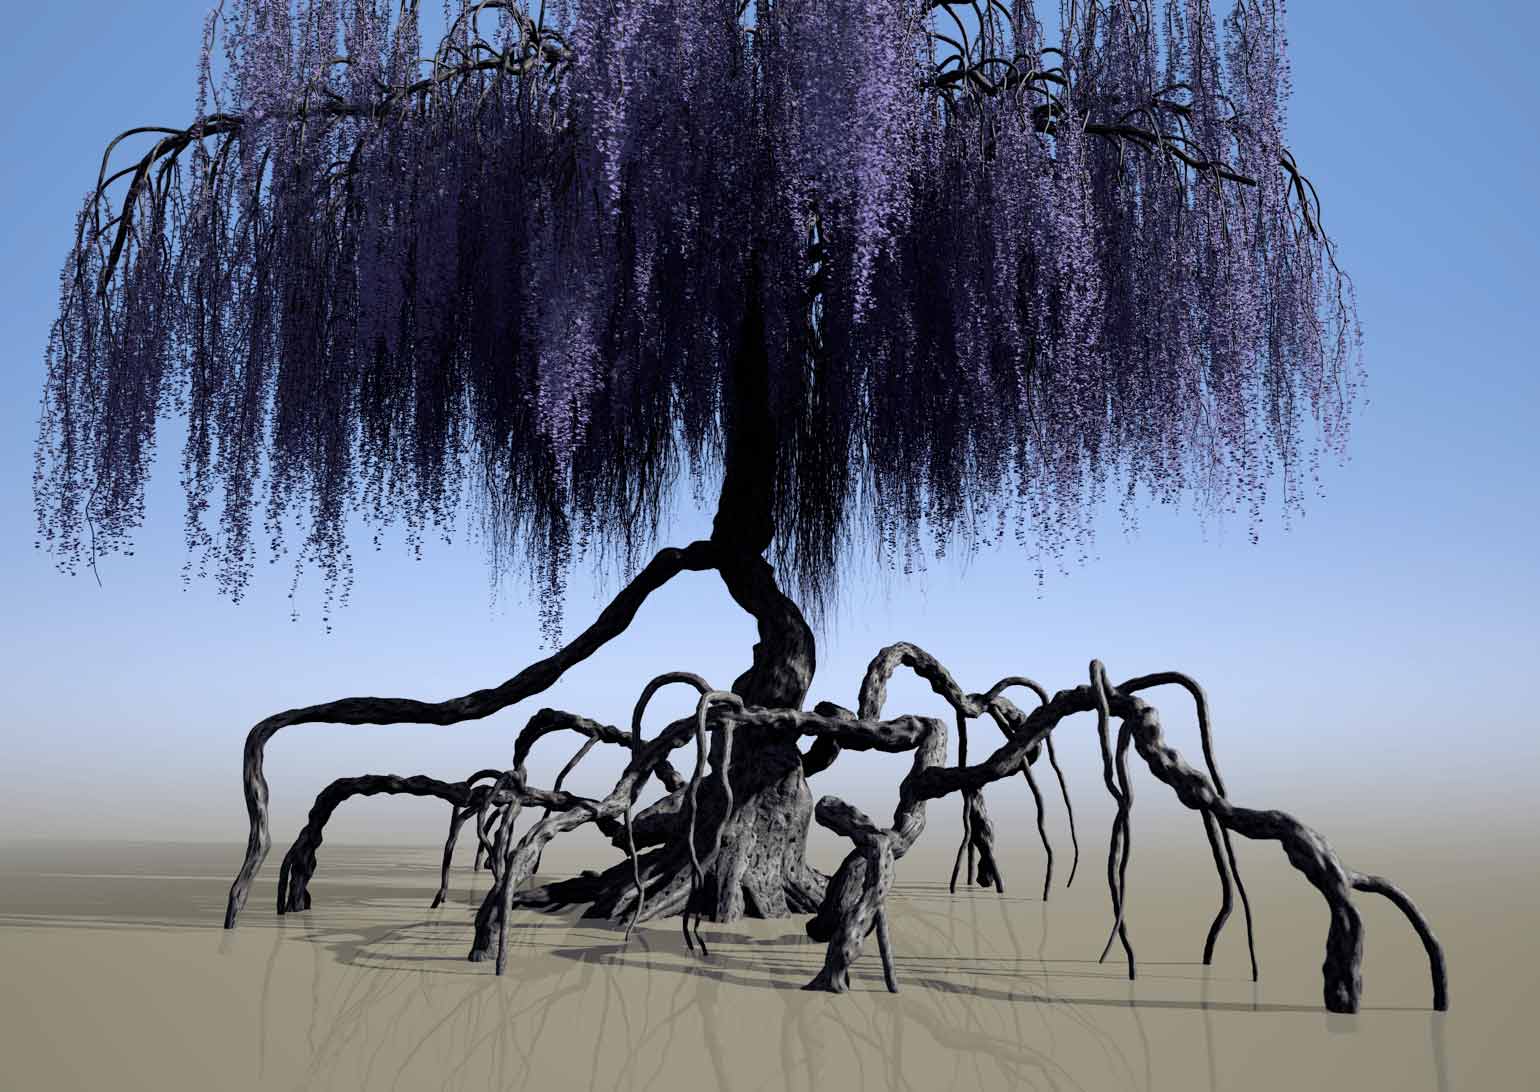
3D Tree Modeling
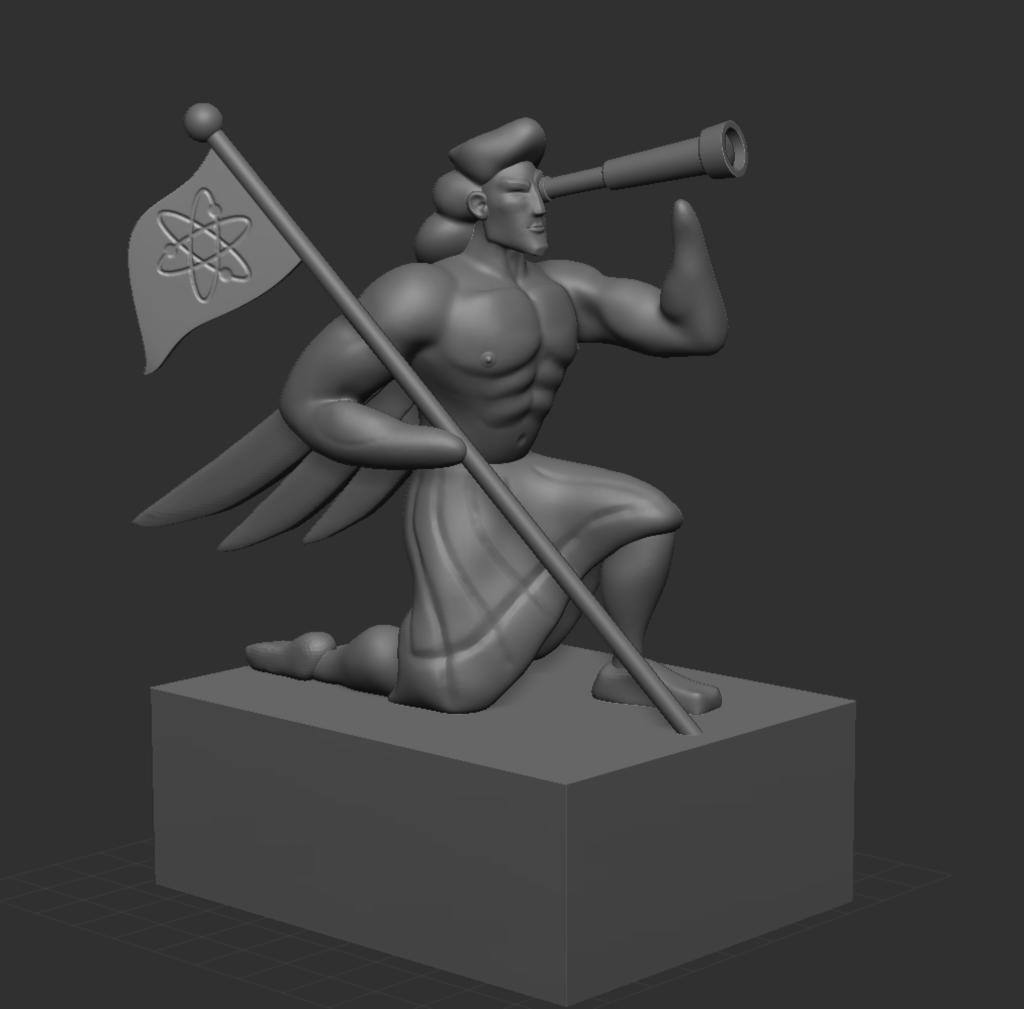
3D Logo Modeling
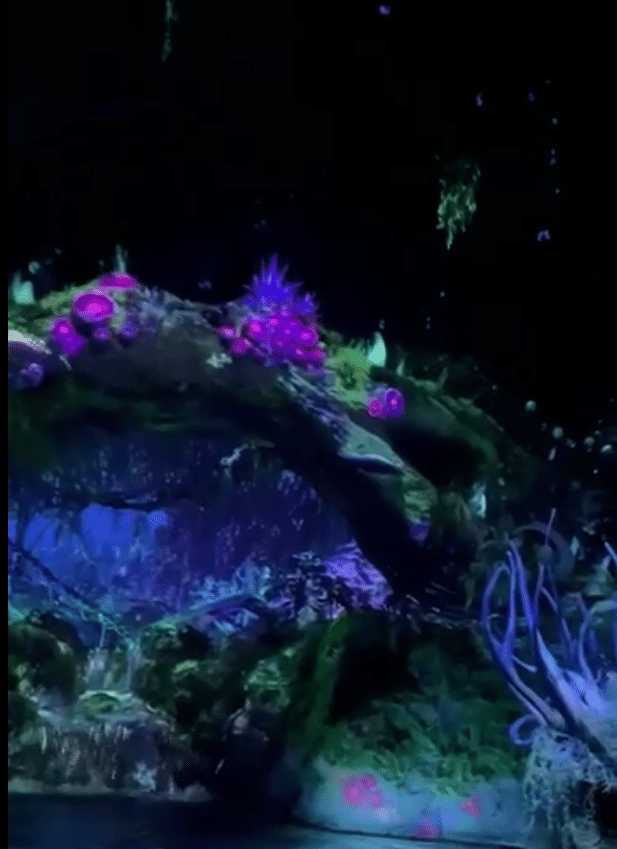
Ambiance/Graphic Research
Ambiance Research
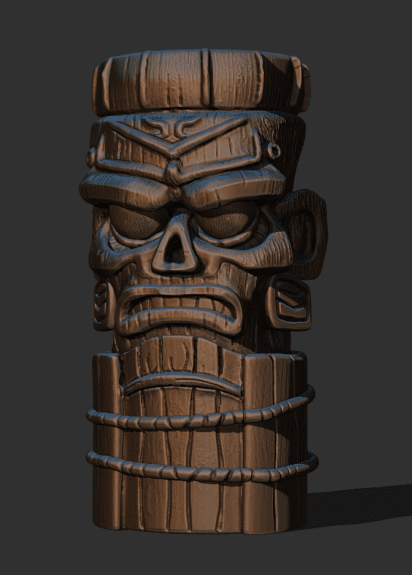
3D TIKI Modeling
Graphic Research
Once all the research was completed, the question of feasibility and technical challenges of the project arose. Given that technical resources were limited, with only two computers equipped with a RAM memory of 48 gigabytes, the constraints for rendering such a large image format and the number of astronomical objects in our scene were considerable.
Transition to Unreal Engine 5: A Strategic Choice for Project Advancement
At the outset, we devised a pipeline based on Solaris / Houdini / Karma. Although this setup proved to be robust, swift, and high-performing (we had already implemented it on a larger scale at ESMA for our films), it quickly became apparent that this undertaking would be of immense ambition and beyond our current means.
FIRST HOUDINI TEST

Consequently, we made the astute decision to turn to Unreal Engine 5, a solution I already had partial mastery of. This real-time rendering engine offers an extensive library of megascans and diverse elements, readily usable and easily integratable. This option proved to be ideal in meeting our extremely tight deadline and the project's technical demands.
Hence, I undertook the development of this new pipeline as the sole expert in the field. This approach swiftly translated into markedly more conclusive outcomes, marking a significant evolution in the realization of our project.
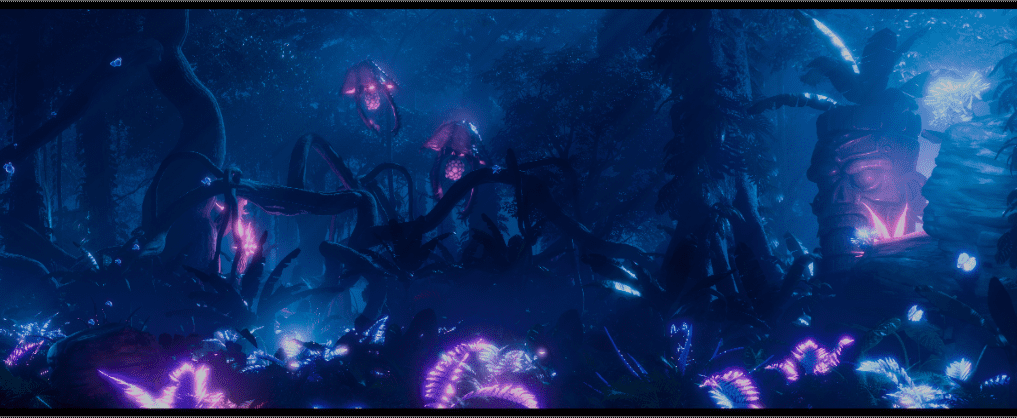
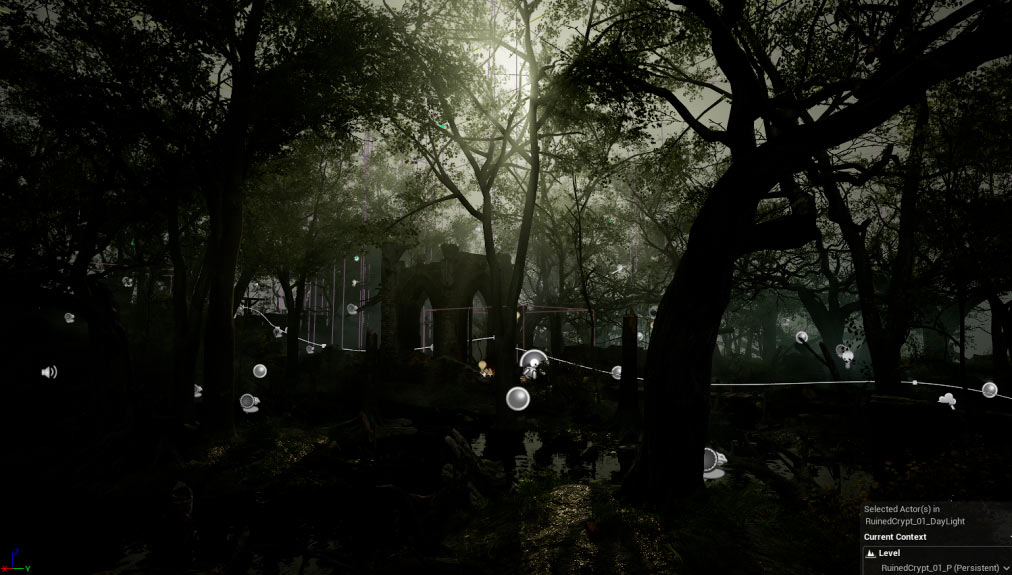
FIRST UNREAL ENGINE 5 TEST

Once the project was created and Unreal Engine 5 well in hand, we moved on to the crucial stages of look development, set dressing, and lighting. It was now the time to unleash our creativity to shape a setting that met our expectations. The setting is divided into two parts, a jungle section and an abandoned hangar section.


The second stage of our project was creating an interior, a demanding task as it had to harmonize with the jungle section while giving the impression of being inside a room. Additionally, we needed to prevent the image from appearing empty by adding details and elements related to Clark Powell.
The technical process remained similar to that of the first image. However, with the aim of optimizing performance, I chose to work on a new scene, thereby initiating a fresh project.
FIRST INTERIOR TEST

We continued in this direction, then applied color grading in Nuke to harmonize the two images and manage the transition. Here are the final images, hoping you will like them. You can find them on the wall of Clark Powell in Montaudran.